VS Code Extension: Advanced Usage
This page covers the CloudZero Sidebar, namespaces, conflict resolution, telemetry annotations, and troubleshooting for the VS Code Extension.
The CloudZero Sidebar
The sidebar contains two sections:
- Organization: Shows which CloudZero organization you are connected to. Click the name to switch organizations.
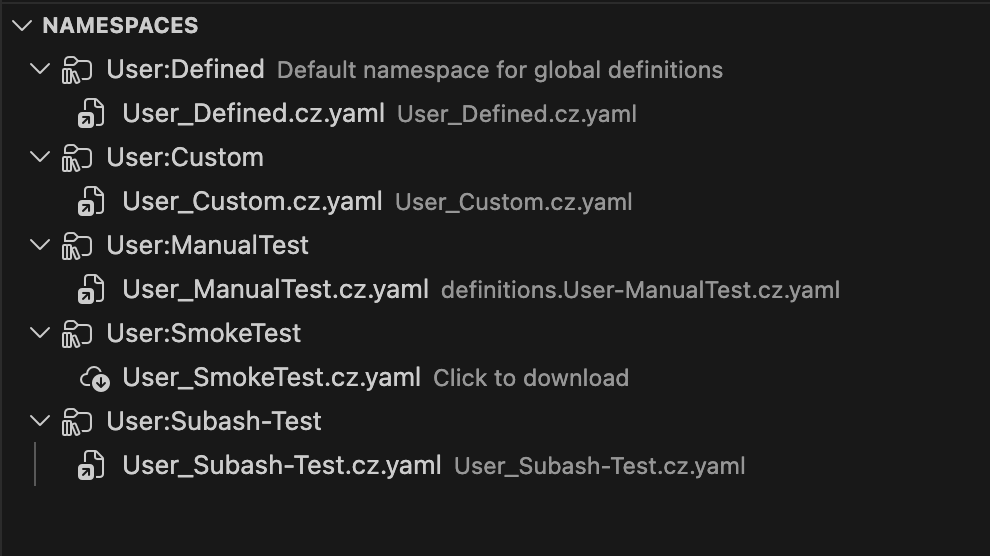
- Namespaces: Lists all namespaces. Expand a namespace to browse its definition files and metadata.
To refresh the namespace list, click the refresh icon in the Namespaces header, or run CloudZero Namespaces: Refresh Namespaces from the command palette.
Switch organizations
If you have access to multiple CloudZero organizations, click the organization name in the sidebar or use CloudZero: Switch Organization from the command palette. The namespace list refreshes for the selected organization.

Organize with namespaces
Namespaces let you organize Dimension definitions into separate groups, each with its own version history. Every organization has a default namespace called User:Defined. You can create additional namespaces to separate definitions by team, project, or purpose (for example, User:TeamAlpha, User:Billing).
For full details on how namespaces work across the platform, see Namespaces.
Create a new namespace
- In the Namespaces section of the sidebar, click the + button, or open the command palette (⇧⌘P / Ctrl+Shift+P) and select CloudZero Namespaces: New Namespace.
- Enter a name for the namespace (for example,
Finance,Platform, orTeamAlpha). TheUser:prefix is required and is prepended automatically if you do not include it.

- The namespace appears in the sidebar and is ready for use.
Delete a namespace
Right-click a namespace and select Remove Namespace, or use CloudZero Namespaces: Remove Namespace from the command palette.
The default
User:Definednamespace cannot be deleted.
Resolve publishing conflicts
If someone else publishes definitions to the same namespace while you are editing, the extension detects the conflict when you attempt to publish.
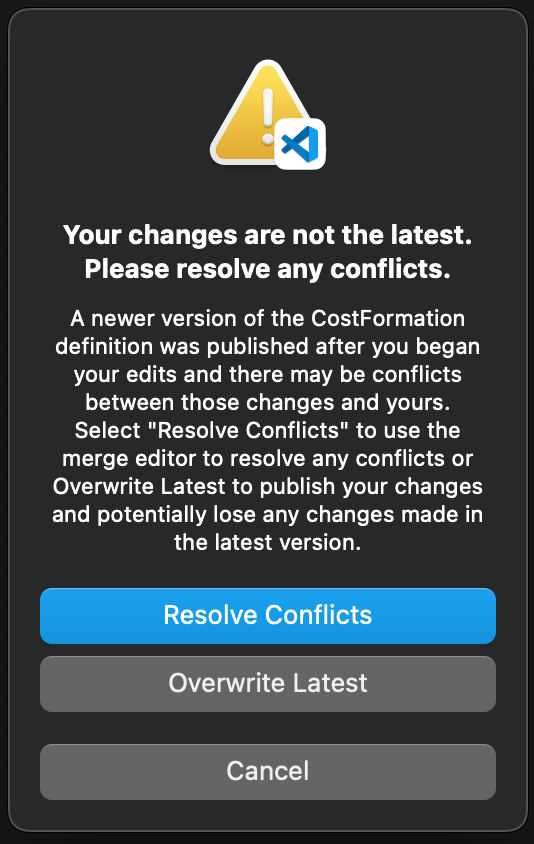
- Select Resolve Conflicts to open a merge editor that combines your changes with the changes made after your last download.
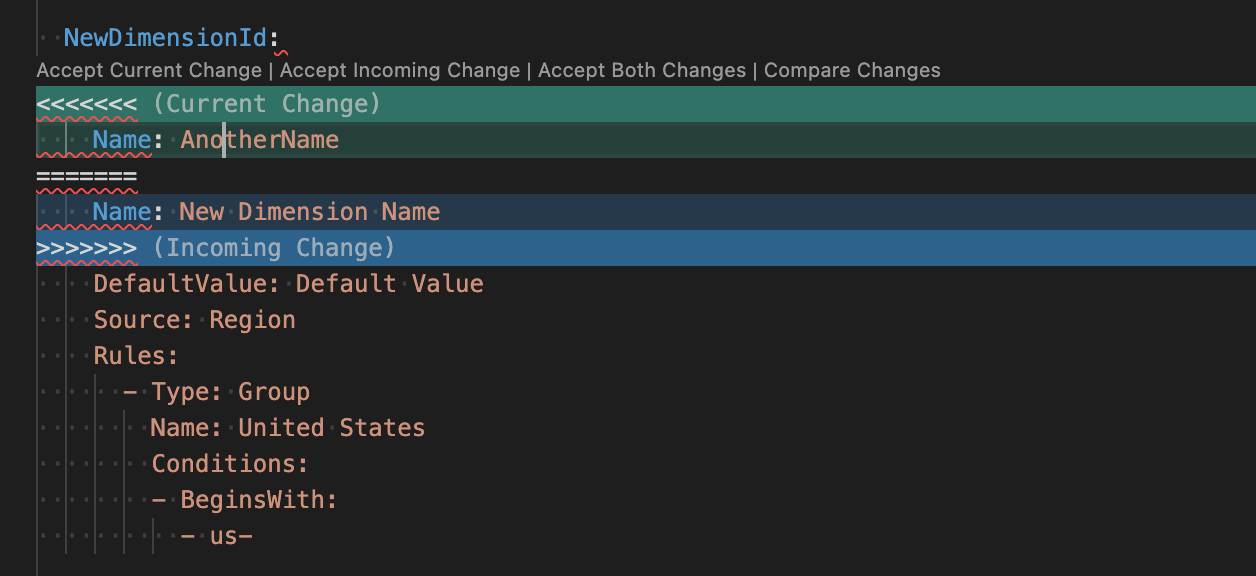
- For each conflict (marked with
<<<<<<<,=======,>>>>>>>), accept the current change (yours), the incoming change (theirs), or write a new resolution.
- After all conflicts are resolved, publish again. The extension asks you to confirm that conflicts are resolved before proceeding.
If your changes and the other changes do not overlap, the merge editor shows the combined result with no conflict markers.
You can select Overwrite Latest to publish without merging, but this replaces the other person's changes entirely.
Telemetry stream annotations
If a Dimension in your definitions file is referenced by a telemetry stream, the extension displays an annotation above it. This tells you the Dimension is in use before you modify or remove it.
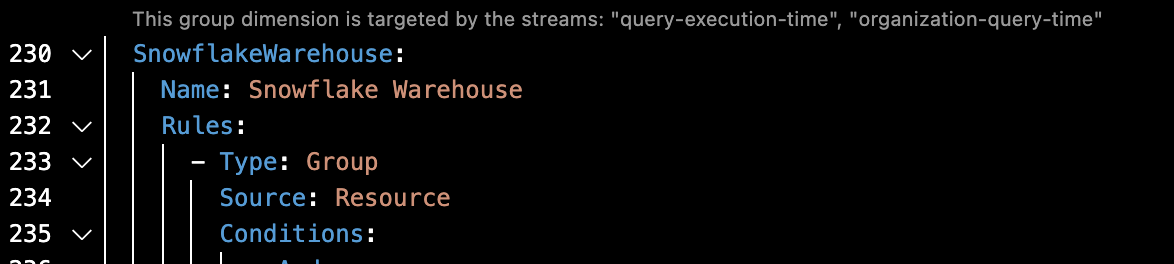
- Click the annotation to open the Telemetry Streams page for your organization.
- To turn this feature on or off, go to VS Code settings (Code > Settings > Settings) and search for
code lens. Under CloudZero CostFormation Toolkit, toggle Cloud Zero > Code Lens > Telemetry: Enable.
Troubleshooting
"Oops, something went wrong" when authenticating
If you see this error when logging in:
- Make sure you are running the latest version of the CostFormation Toolkit extension.
- Open the command palette (⇧⌘P / Ctrl+Shift+P) and select Developer: Reload Window.
- Go to Settings > Extensions > CloudZero CostFormation and confirm General: Auth URL is set to
https://auth.cloudzero.com. - Open the command palette (⇧⌘P / Ctrl+Shift+P) and select CloudZero: Authenticate.
- Log in with your SSO credentials when your browser opens.
"Review changes" warning when publishing
This warning appears if the extension does not know which version you started from (for example, if the file was moved, renamed, or imported outside VS Code).
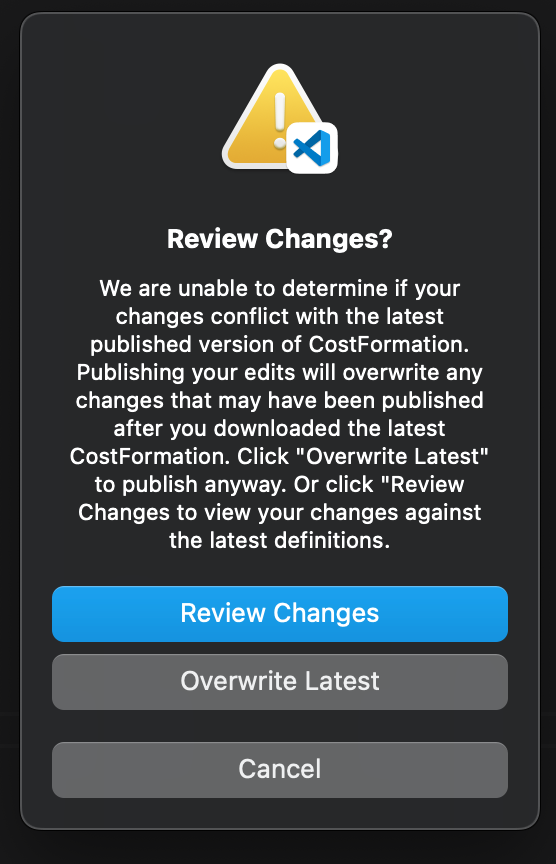
- Review Changes: Opens a side-by-side diff so you can verify your definitions before publishing.
- Overwrite Latest: Publishes immediately without comparing.
To prevent this, always download the newest definitions before you begin editing.
For a full list of extension commands, see Command reference on the main VS Code Extension page. For Dimension concepts and rule types, see How to Build a Dimension.
Have questions or feedback? Reach out to your account manager.
Updated about 2 months ago