Notifications
CloudZero keeps you informed about your cloud costs through automatic notifications, scheduled Dashboard delivery, and Dashboard alerts. Automatic notifications alert you to cost trends, budget thresholds, and unexpected spend changes. Scheduled Dashboard delivery sends recurring cost reports on a schedule you choose. Dashboard alerts notify you when a specific Dashboard metric crosses a threshold you set.
Automatic notifications
Once you set up your Views, CloudZero automatically sends notifications via email, Slack, or both. Each View targets a specific portion of your cloud costs, so every notification is relevant to the team receiving it. You receive the following types of notifications:
- Weekly cost trends: A summary of cost trends over the past 7 days, highlighting the biggest week-over-week shifts. Sent on Tuesdays.
- Monthly cost trends: A summary of cost trends for the previous month, highlighting the biggest month-over-month shifts. Sent at the beginning of each month.
- Budget alerts: An alert when a View's spend crosses a configured budget threshold. Budget thresholds are configurable in 10% increments from 10% to 100%. Only the highest crossed threshold triggers a notification. For more information, see Budgets.
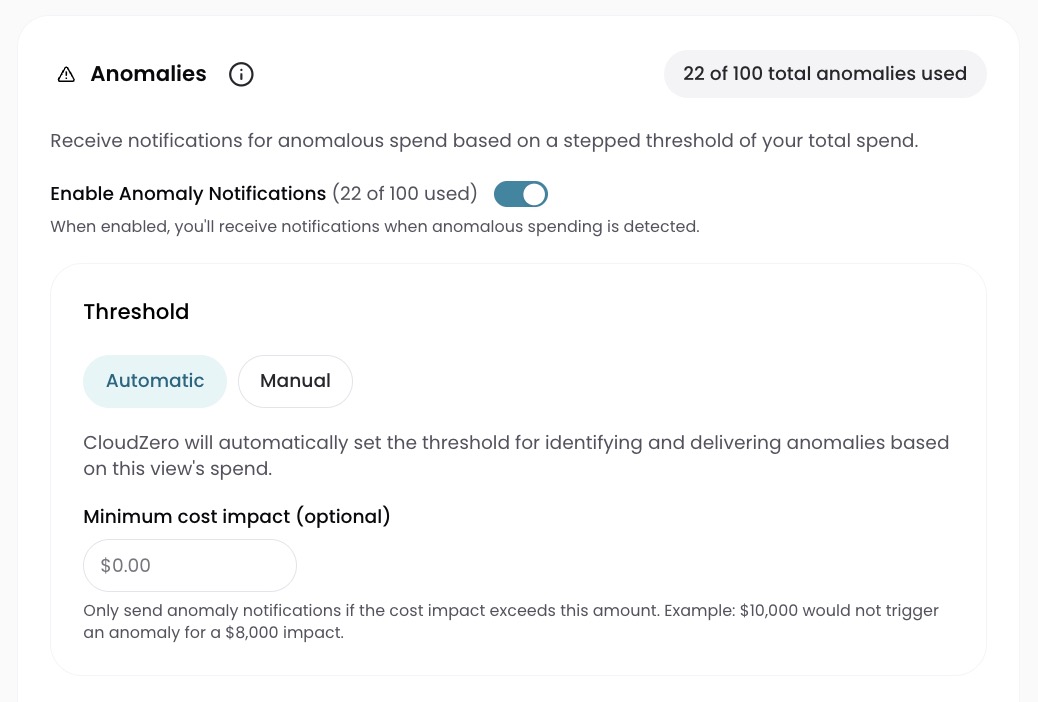
- Anomaly alerts: An alert when CloudZero detects an unexpected change in spend. Each anomaly triggers a single notification. CloudZero sends anomaly alerts up to 3 times per day. The alert includes details about the specific services and accounts involved. By default, anomaly alerts are sent by email to all users with the appropriate Role permissions. For more information, see How Anomaly Detection works.
CloudZero also sends global cost trend notifications based on your Global View. You can configure the delivery channels for global notifications by editing the Global View's notification settings. For details, see Edit the Global View.
Set up automatic notifications
Automatic notifications are configured through Views. Each View represents a specific slice of your cloud costs (such as a team, product, or environment) and delivers notifications only for that slice. You can route each team's cost alerts to their own Slack channel or email so notifications stay useful instead of becoming noise.
- Create or edit a View by following the steps in Create Views or Edit Views.
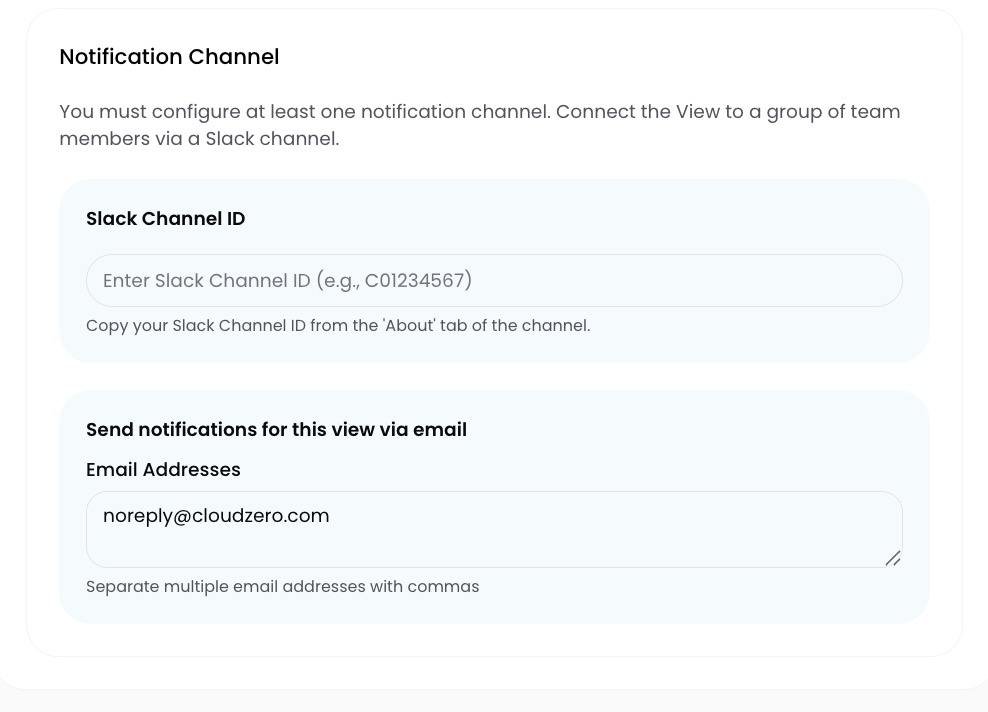
- Add a Slack channel by setting up the Slack integration first, then entering the Slack Channel ID in your View configuration. Each View supports one Slack channel.
- Add email addresses. Enter one or more email addresses, separated by commas.
If your team uses Microsoft Teams, Google Chat, or another collaboration tool that provides an email address for channels, you can use that channel email address to route CloudZero notifications directly into your team's workflow.
After saving your View, CloudZero begins monitoring costs for that View immediately. You will receive your first weekly cost trends notification on the following Tuesday. Anomaly alerts begin as soon as CloudZero establishes a baseline for the View's spend patterns.
To receive notification emails, add cloudzero.com and hello.cloudzero.com to your email allowlist. Individual users can turn off all platform email notifications from Personal Settings.
Manage notification preferences
Anomaly detection can be enabled or disabled per View. When creating or editing a View, toggle the View Anomalies setting to control whether that View generates anomaly alerts. For details, see Create Views.
Scheduled Dashboard delivery
Automatic notifications cover cost trends and alert you when spend crosses a threshold or changes unexpectedly. Scheduled Dashboard delivery handles recurring reporting. You can schedule any Analytics Dashboard for delivery at whatever frequency fits your workflow, and reports are sent automatically without anyone needing to log in.
Destinations and formats
Scheduled Dashboards support the following delivery destinations:
- Webhook
- Amazon S3
- SFTP
Dashboards can be delivered in PDF, CSV zip file, or PNG visualization format.
Schedule a Dashboard delivery
- Open the Dashboard you want to schedule.
- Select the three dots at the top right of the Dashboard, then select Schedule Delivery.
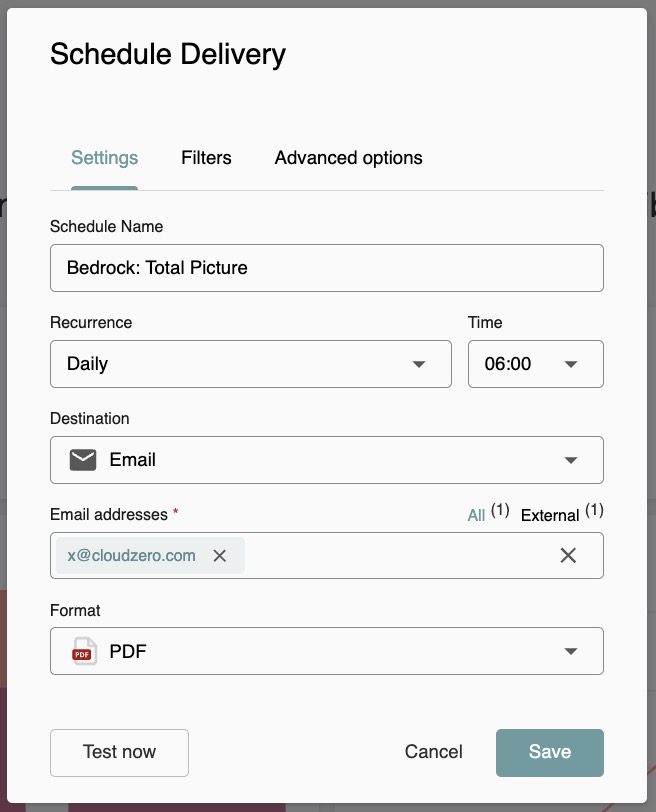
- On the Settings tab, enter a schedule name, set the recurrence and time, choose a destination, and select a format.
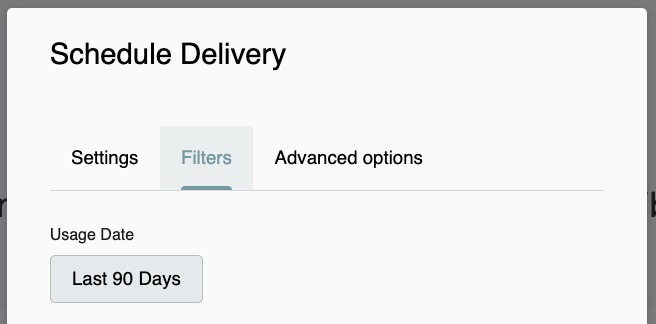
- (Optional) On the Filters tab, adjust filters to customize which data is included in the delivery.
- (Optional) On the Advanced options tab, add a custom message, adjust the layout, or change the delivery timezone.
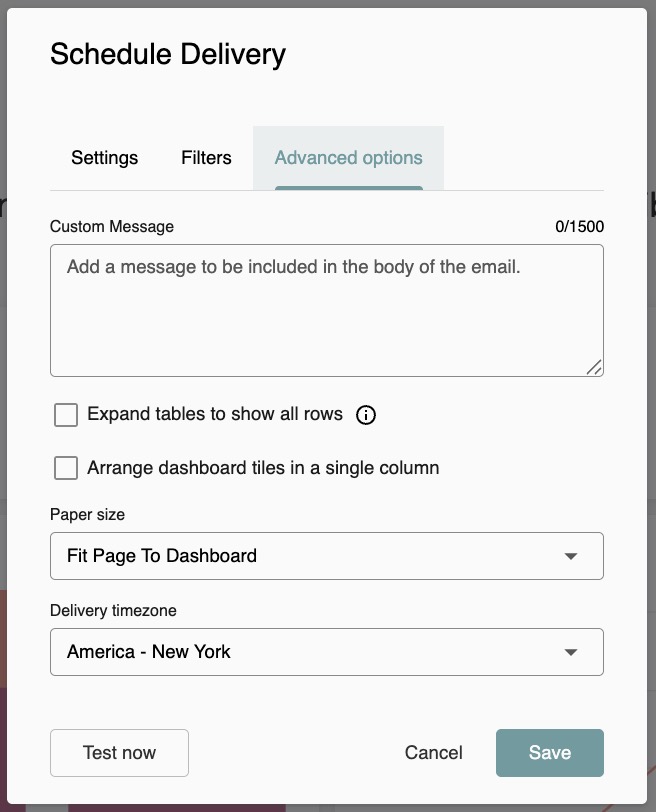
- Select Save to activate the schedule, or Test now to send a test delivery immediately.
For more information about Dashboards, see Analytics.
Dashboard alerts
Set a threshold on any Analytics Dashboard tile and CloudZero emails the recipients you specified when the value crosses it. Dashboard alerts let you monitor tiles without checking Dashboards manually.
Set a Dashboard alert
Setting a Dashboard alert takes seven steps:
- Open the Dashboard
- Open the alert dialog
- Set the condition
- Choose the method and recipients
- Set the check frequency
- Confirm the custom link
- Save the alert
Step 1: Open the Dashboard
Open the Dashboard with the tile you want to monitor.
Step 2: Open the alert dialog
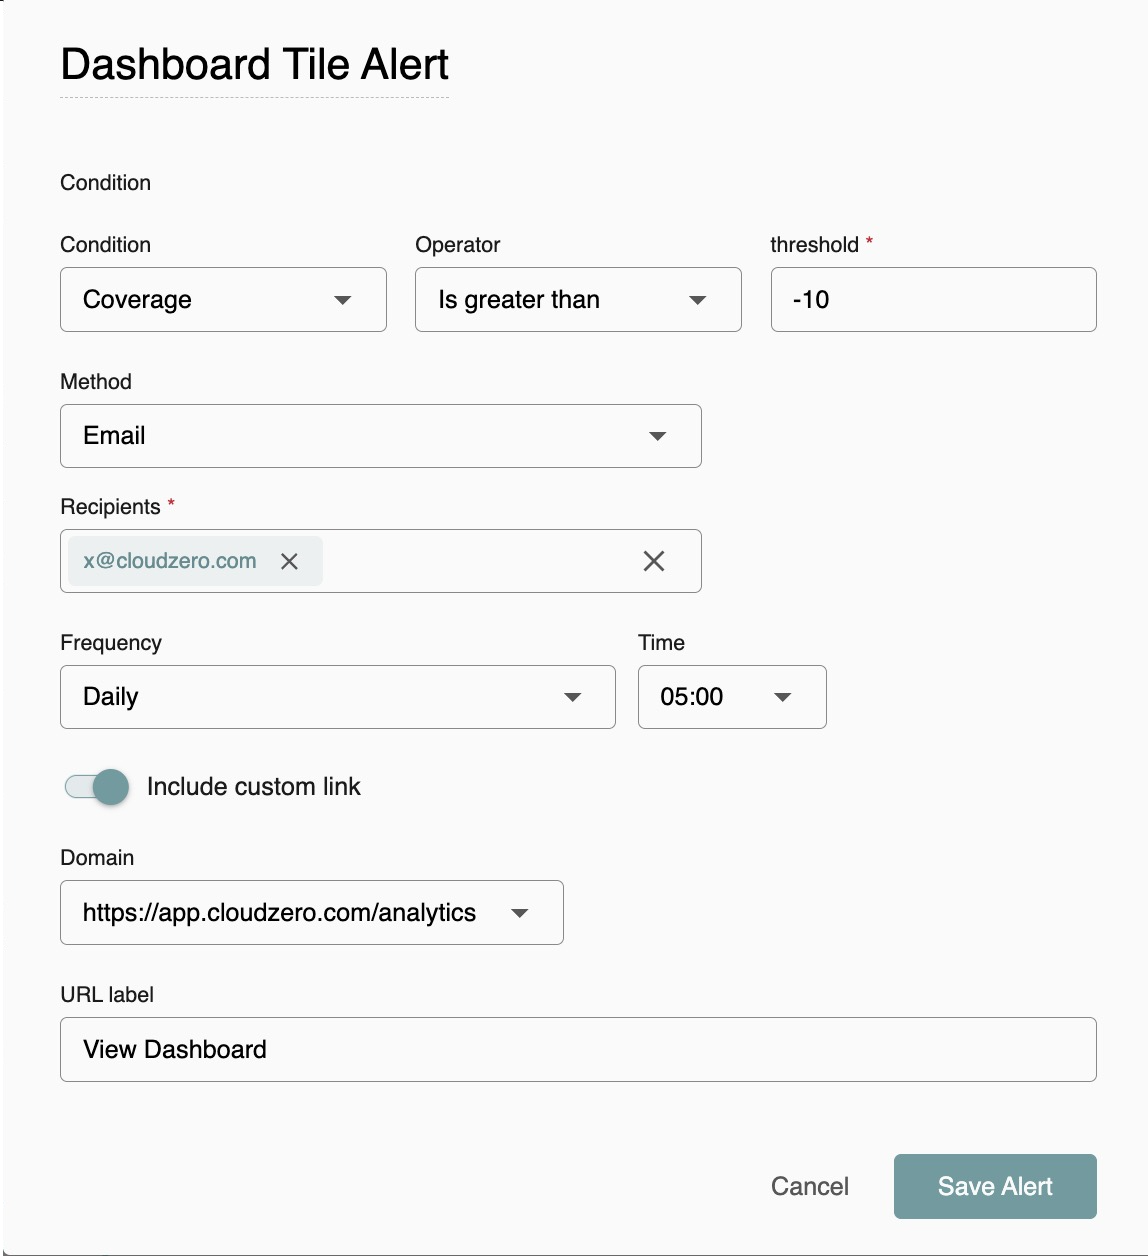
On the tile, click the alert bell at the top right to open the Dashboard Tile Alert dialog.
Step 3: Set the condition
Set the Condition: choose the metric, an Operator (for example, Is greater than), and a threshold value.
Step 4: Choose the method and recipients
Set Method to Email, then add one or more Recipients.
Step 5: Set the check frequency
Choose the Frequency and Time for CloudZero to check the tile.
Step 6: Confirm the custom link
Include custom link must be turned on. Confirm it is enabled and that the Domain and URL label fields are pre-filled. This setting controls the View Dashboard link in the alert email: when it is on, the link opens the Dashboard directly in CloudZero; if it is off, the link points to a page recipients cannot access.
Step 7: Save the alert
Click Save Alert.
CloudZero checks the tile on the schedule you set (Frequency and Time), not in real time. When the value crosses your threshold, CloudZero sends an email to the recipients you specified with a link to the Dashboard.
Have questions or feedback? Reach out to your account manager.
Updated 1 day ago