View and Manage Roles
Roles control data access and permissions in CloudZero. For an overview of how Roles work, including data access levels, cost types, granular permissions, and union logic, see Users & Permissions.
Only users with the appropriate permissions can create, modify, or delete Roles and manage Role membership.
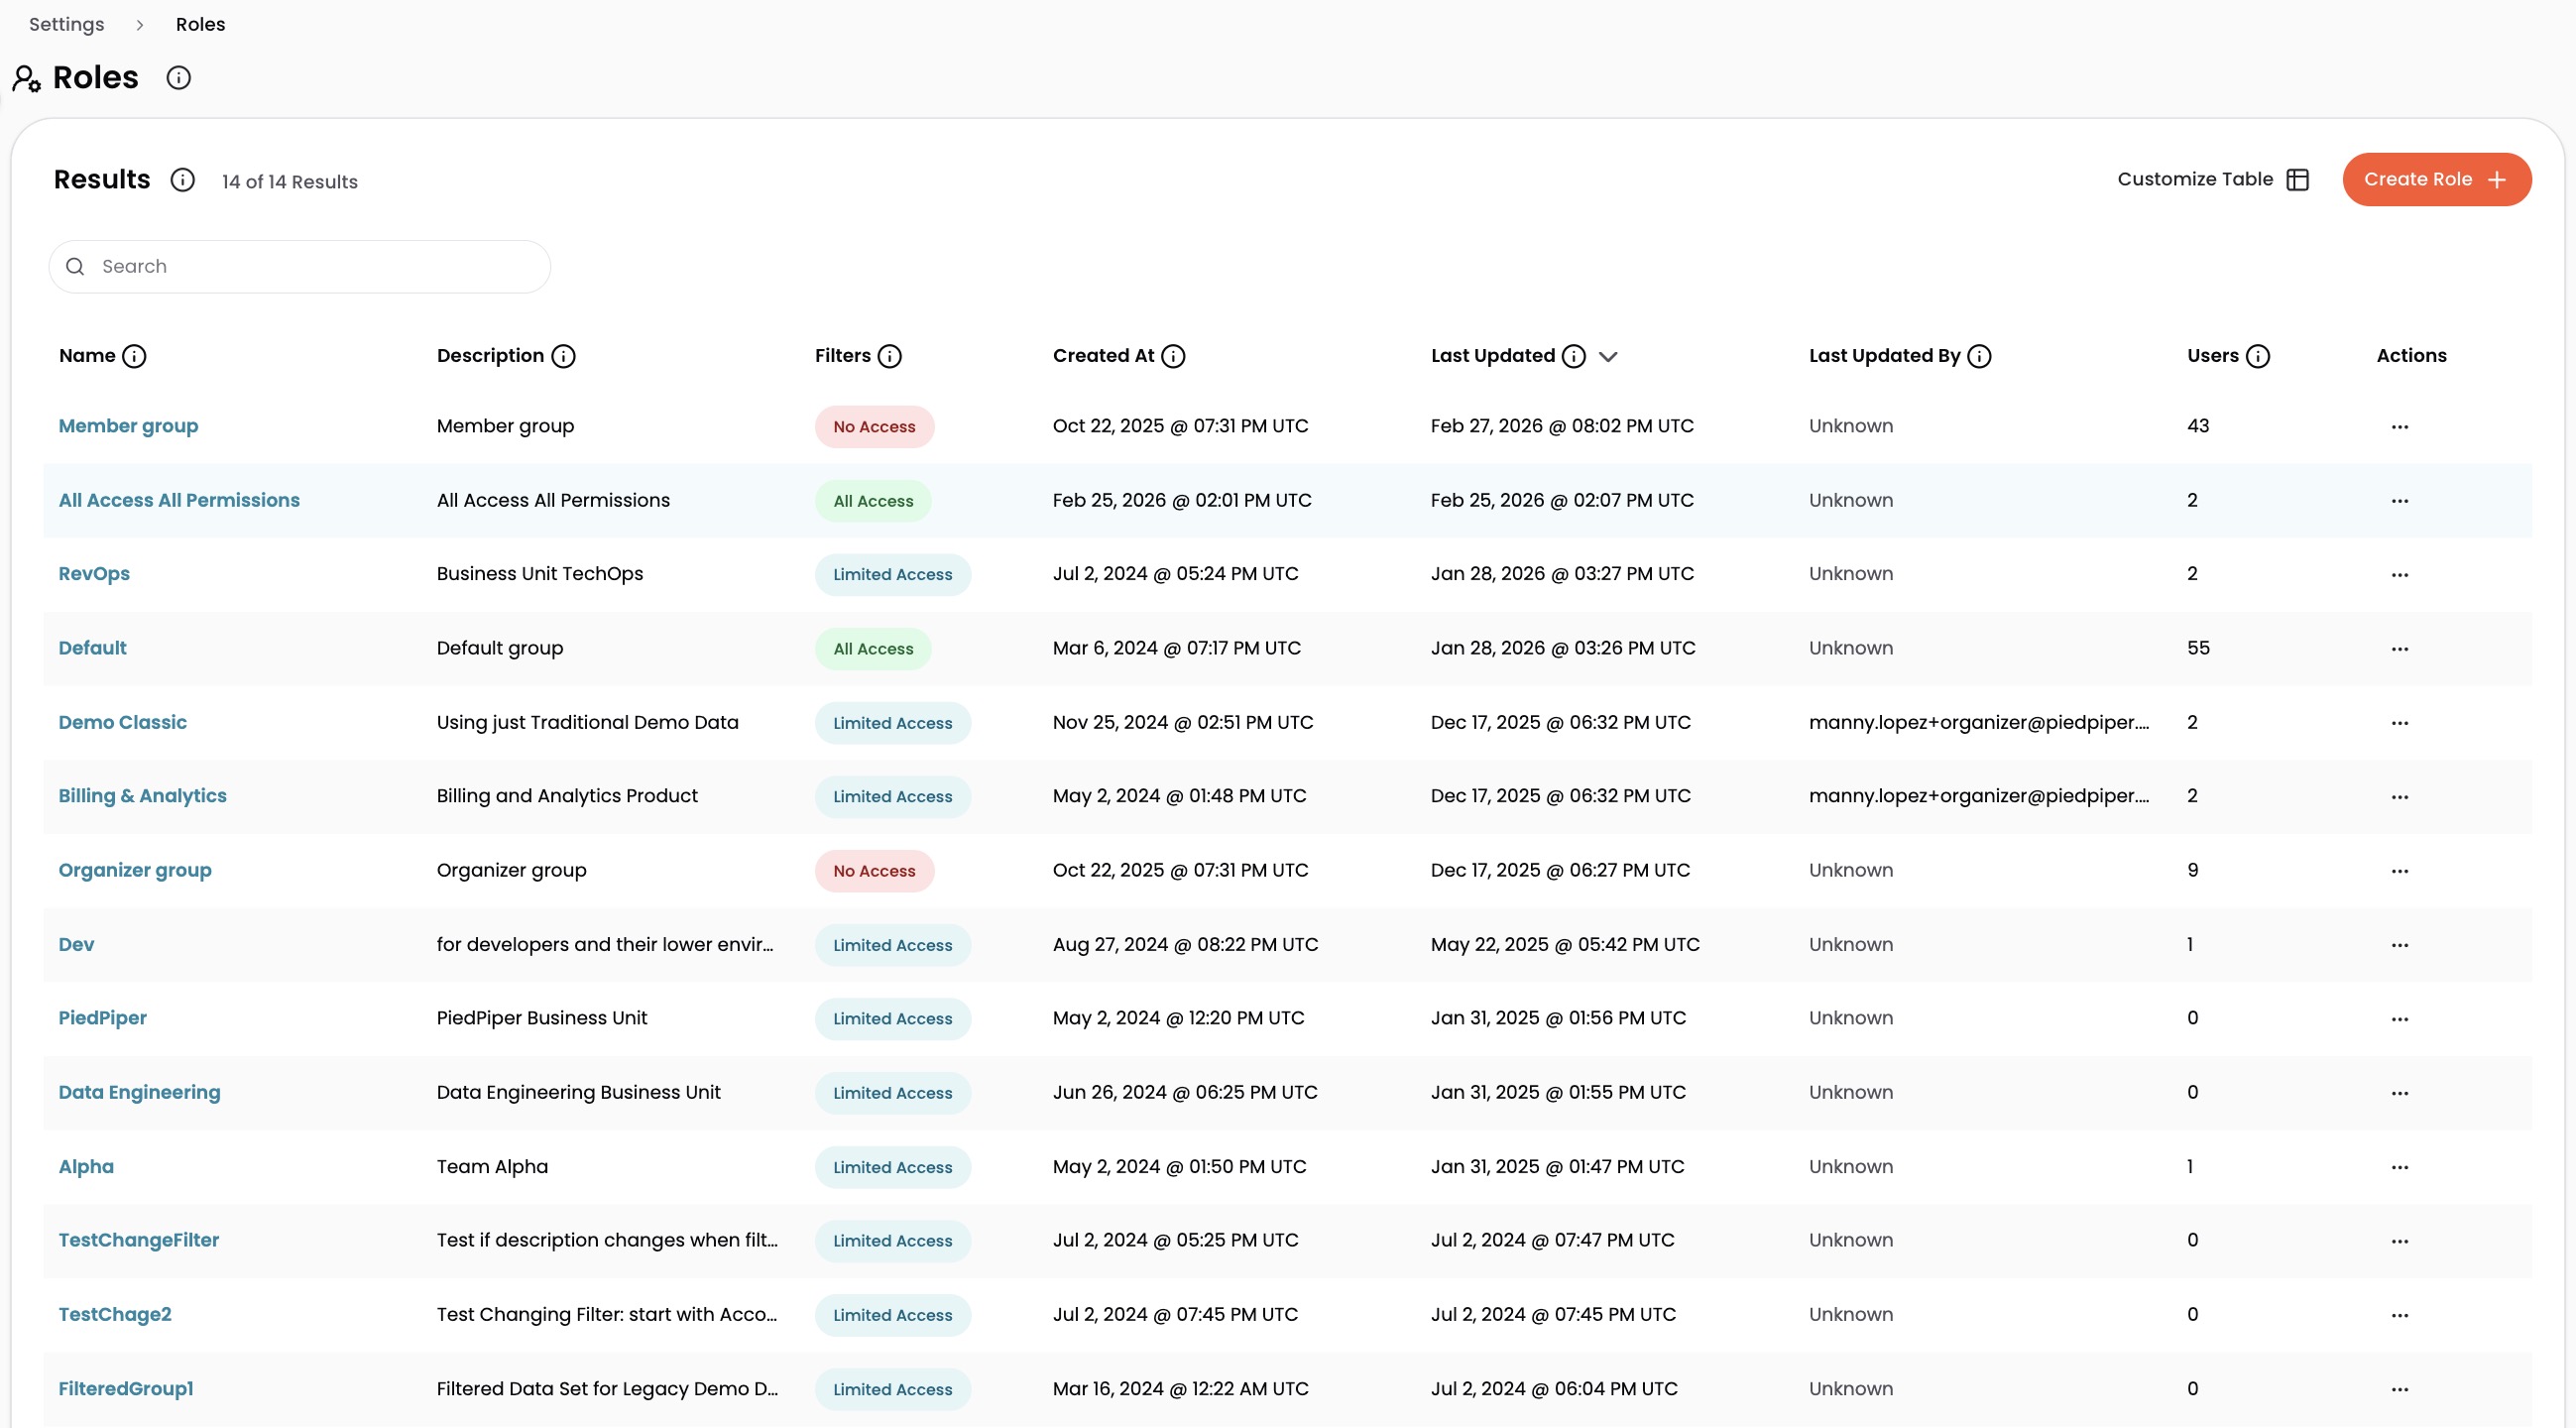
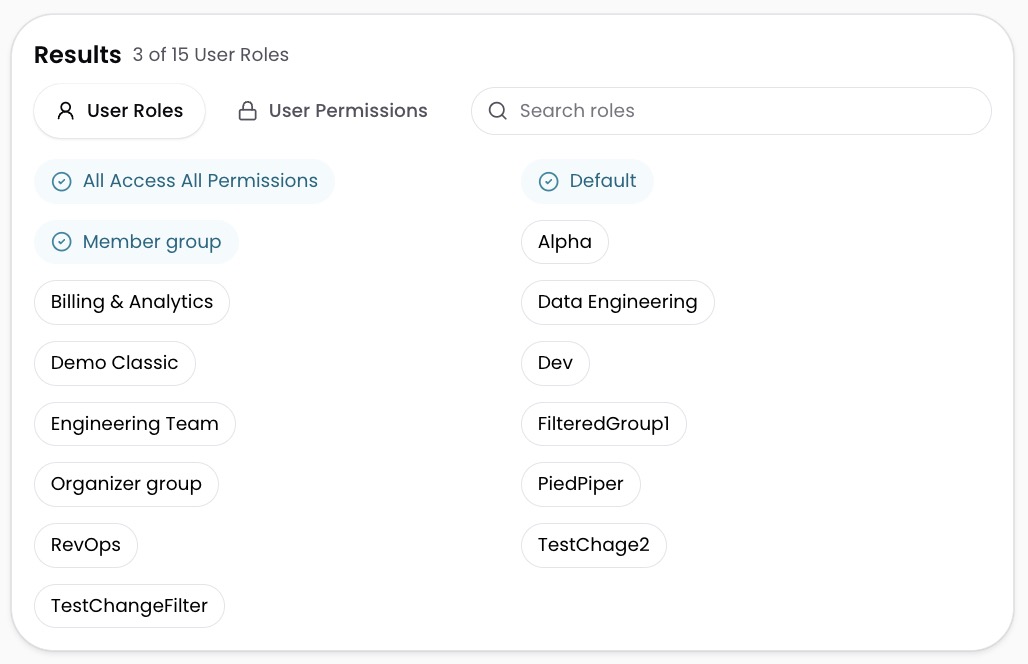
The Roles page lists the Roles configured for your organization. To open the Roles page, navigate to Settings > Roles. For each Role, the page shows the Name, Description, access Filters, Created At and Last Updated dates, Last Updated By, and the number of Users assigned to the Role.
Create Role
The steps to create a Role vary depending on the data access level. Select the configuration that matches your needs.
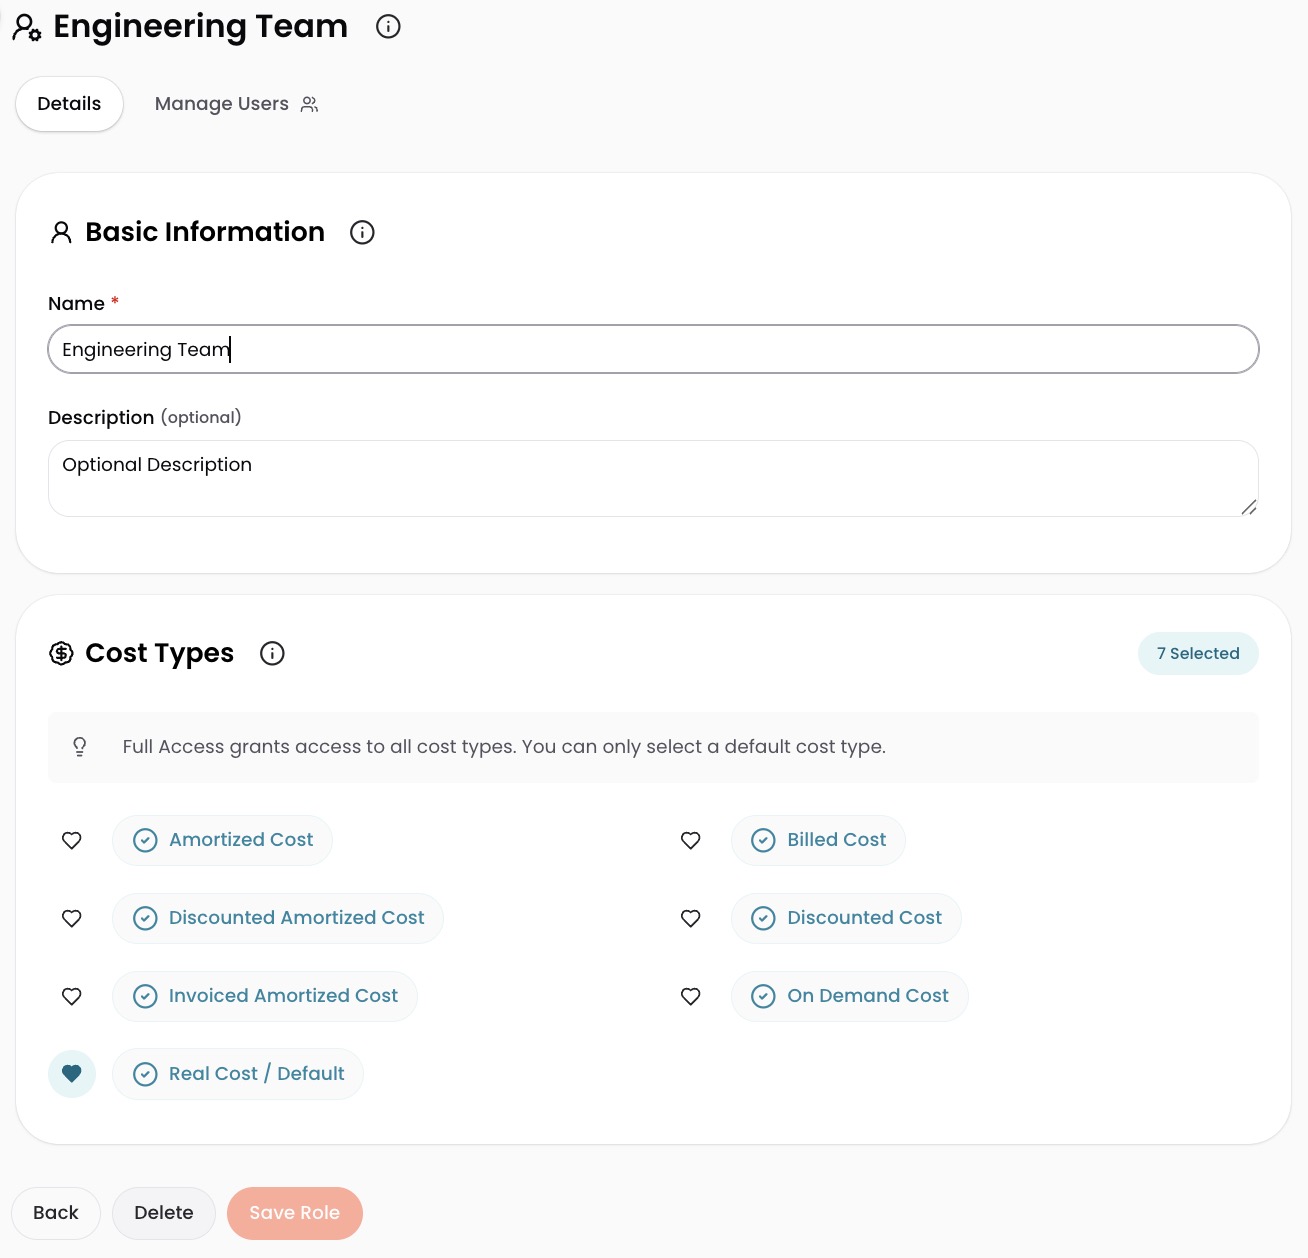
Configure Role with Full Access to data
- Navigate to Settings > Roles.
- Select Create Role +.
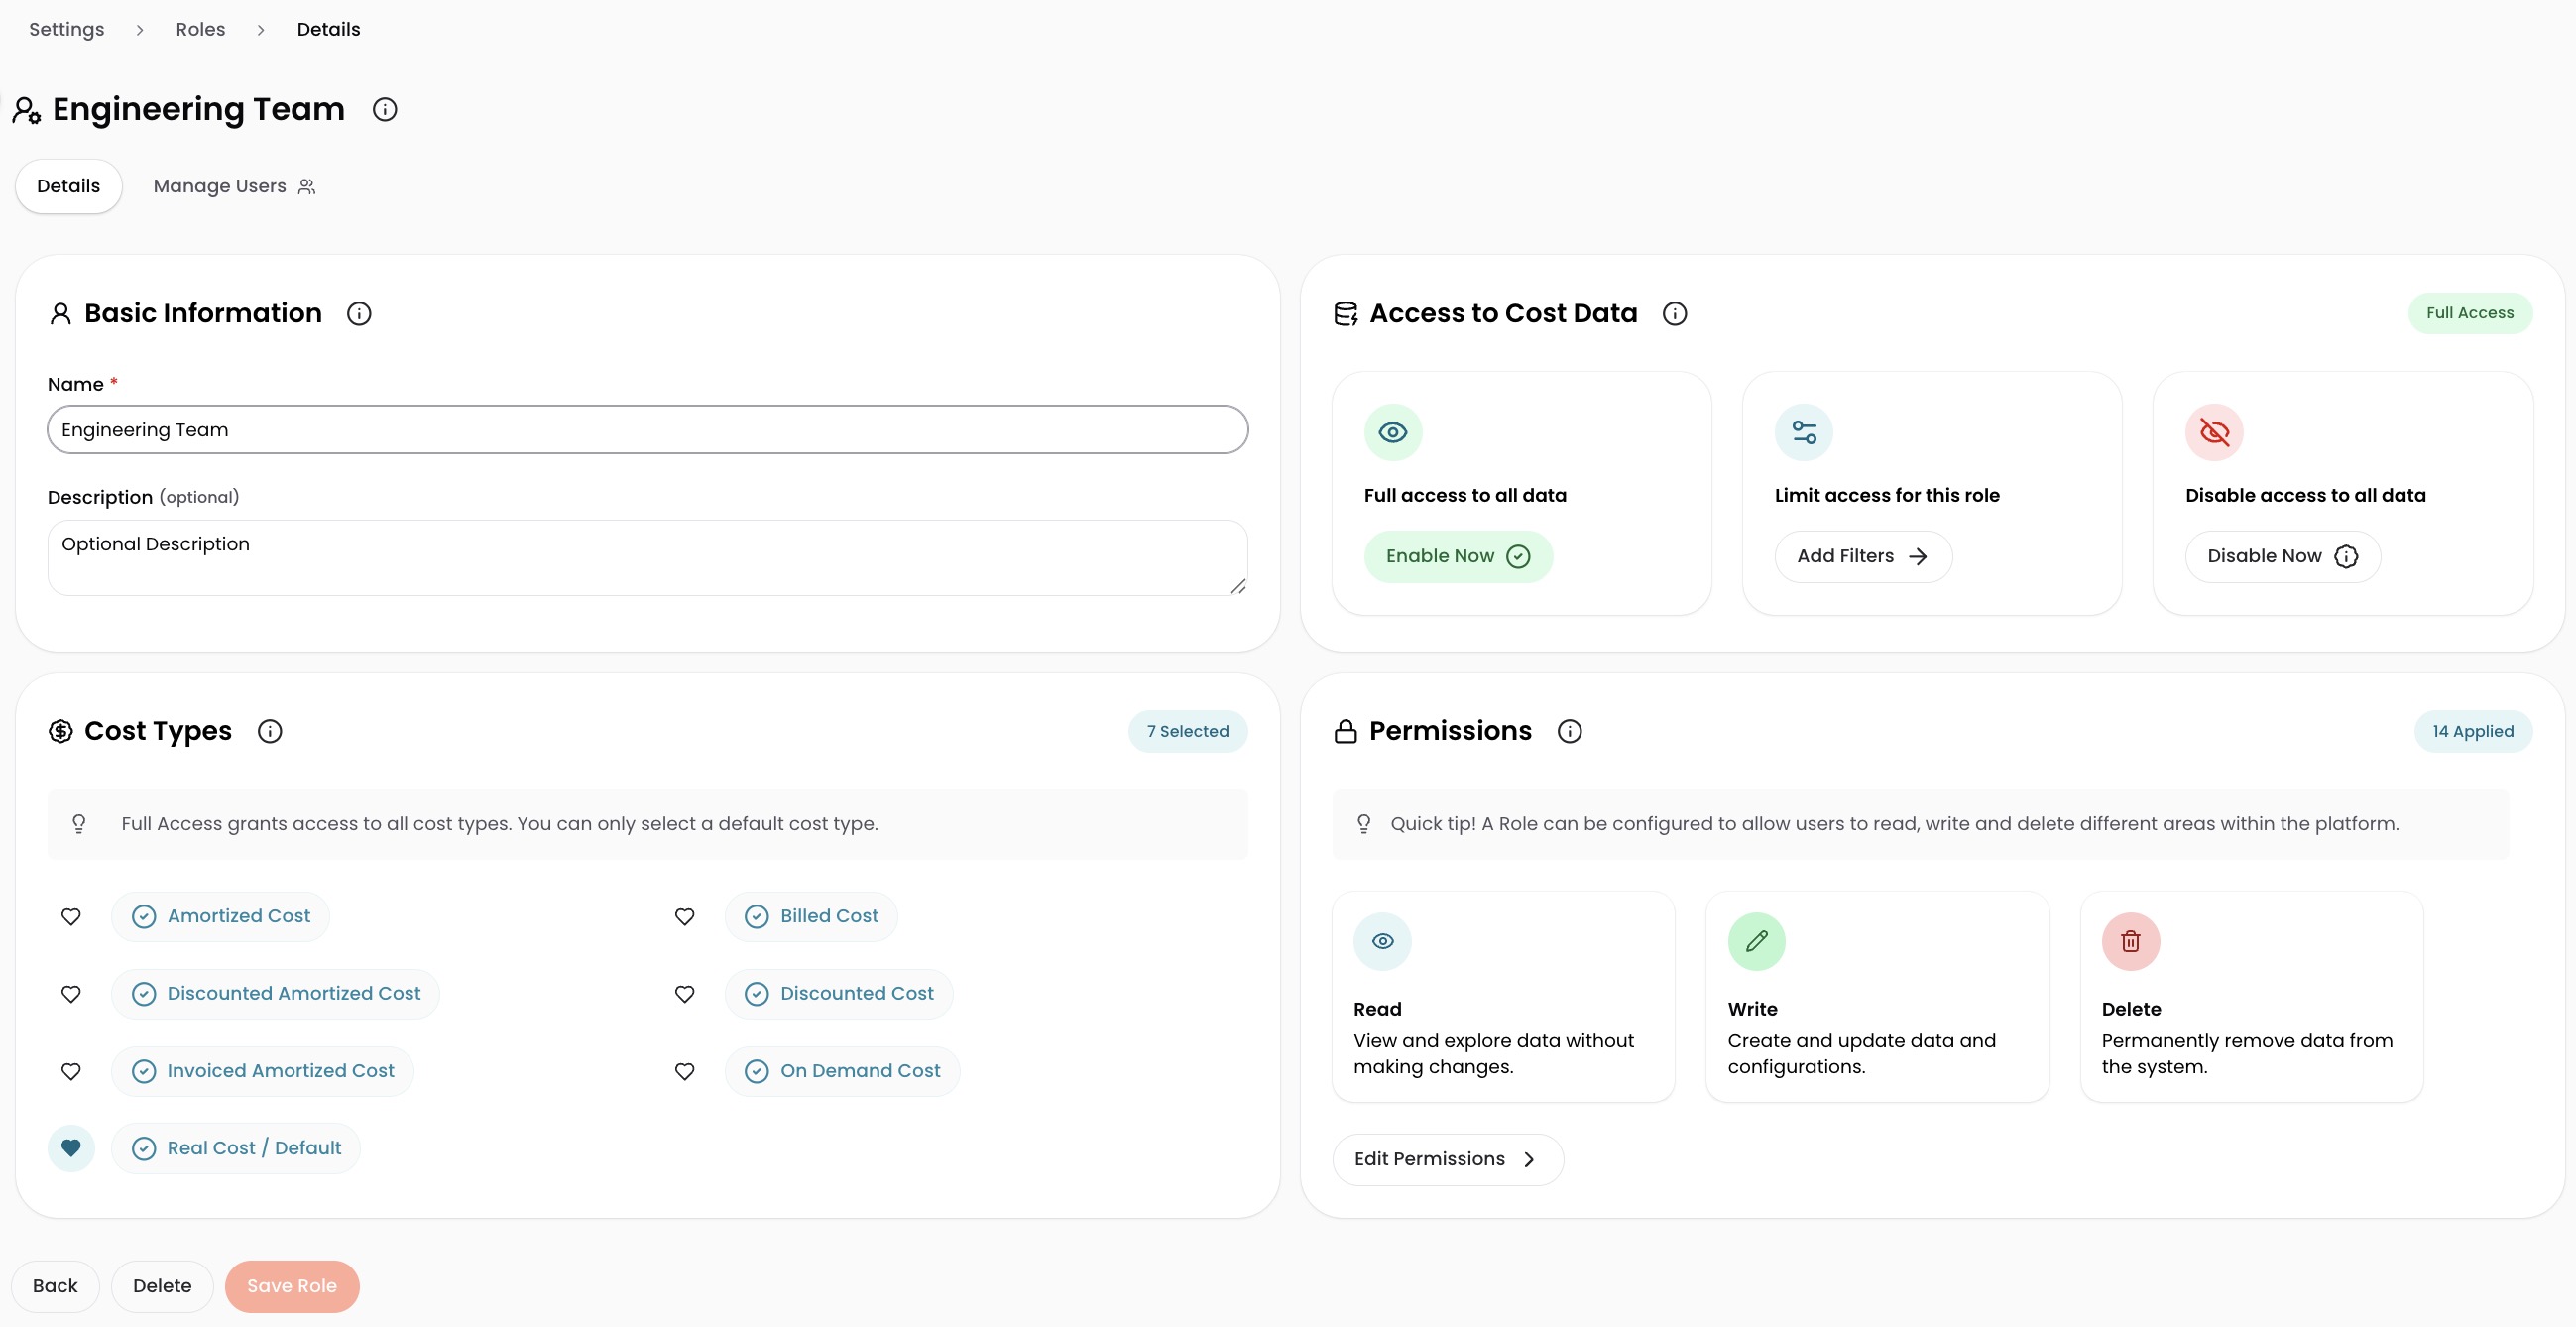
- Enter a Role Name.
- Optionally, enter a Role Description.
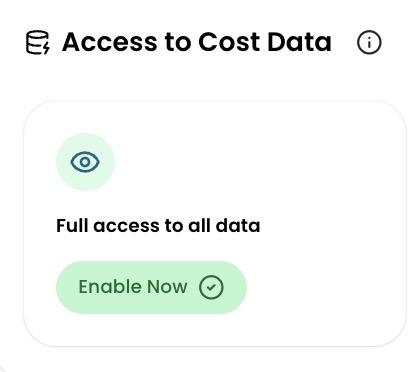
- Set the Access to Cost Data to Full access to all data by selecting Enable Now.
- Select a default Cost Type View.
- Select Create Role.
After you save the Role, the Role details page opens. You can then add users to the Role.
Configure Role with No Access to data
- Navigate to Settings > Roles.
- Select Create Role +.
- Enter a Role Name.
- Optionally, enter a Role Description.
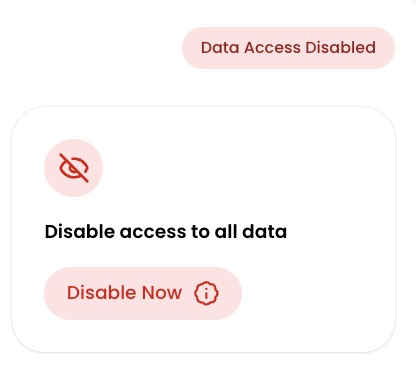
- Set the Access to Cost Data to Disable access to all data by selecting Disable Now.
- Select Create Role.
After you save the Role, the Role details page opens. You can then add users to the Role.
Configure Limited Access Role
A Limited Access Role grants access to spend data filtered by at least one Dimension and at least one cost type.
- Navigate to Settings > Roles.
- Select Create Role +.
- Enter a Role Name.
- Optionally, enter a Role Description.
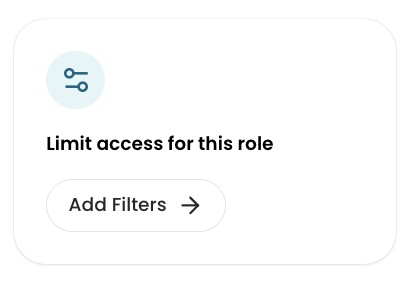
- Set the Access to Cost Data to Limit access for this role by selecting Add Filters.
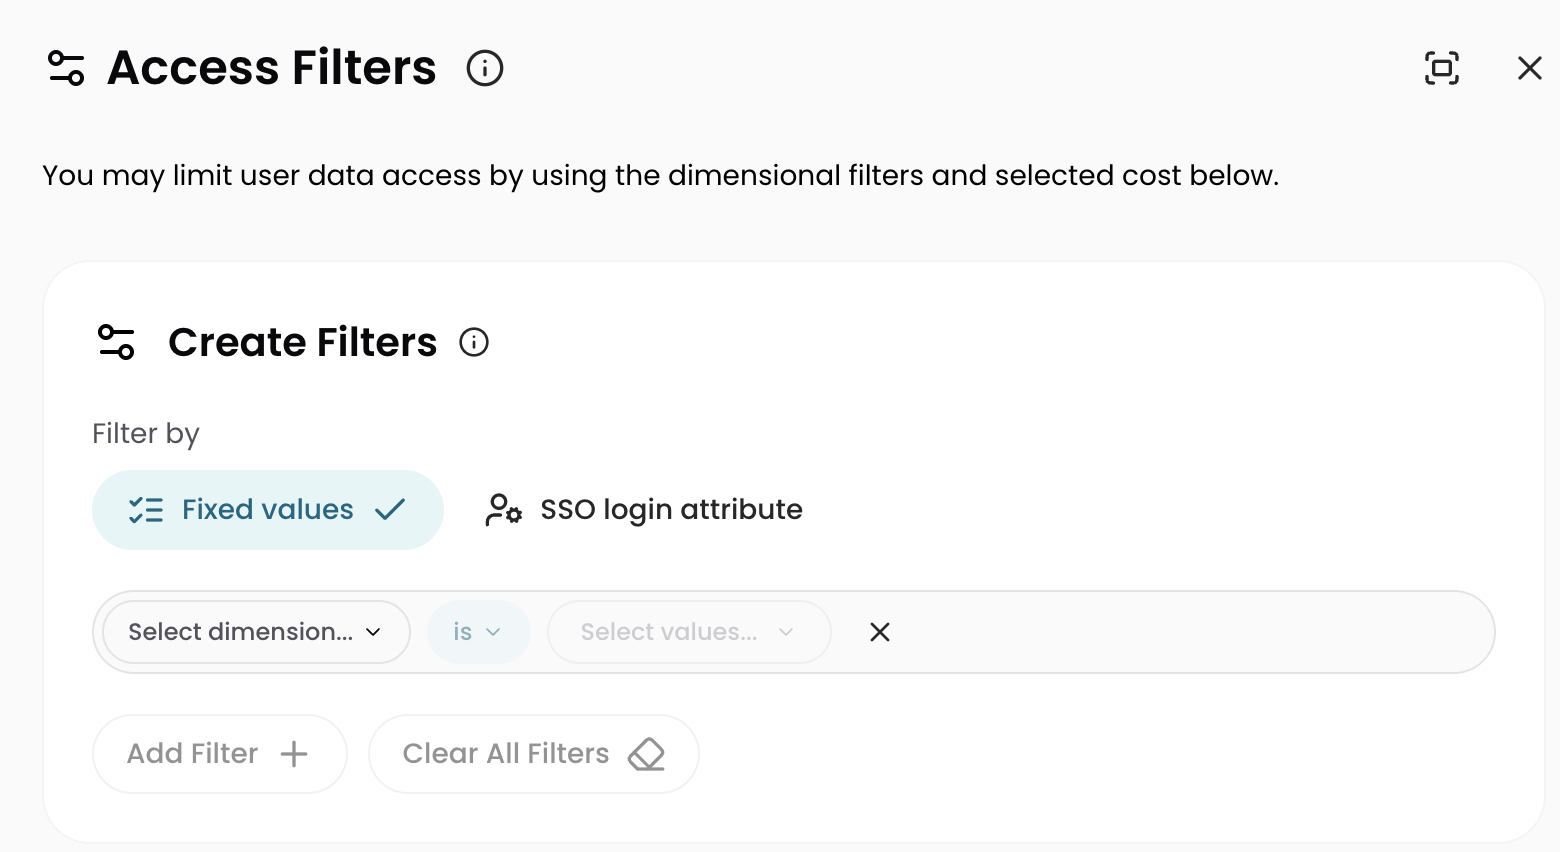
- Under Filter by, choose how the filter values are determined:
- Fixed values: you select specific Dimension values that apply to everyone assigned to the Role.
- SSO login attribute: the filter values resolve from each user's SSO login attributes at login, so a single Role can serve many users. This option appears only for organizations with an active SSO integration. For setup details, see Filter by SSO Login Attribute.
- Select the Dimension you want to filter on, for example,
Cloud Provider. - Set the filter values:
- For Fixed values, select one or more Dimension values, for example,
Azure. By default, the filter is set to is, which grants access to the selected values. Toggle to except to restrict access to the selected values. - For SSO login attribute, specify the SSO attribute that carries the values for each user.
- For Fixed values, select one or more Dimension values, for example,
- Optionally, add more filters by selecting Add Another Filter. All filters are applied to the Role's access.
- Select Apply to save the filter configuration.
- Select the Cost Types you want users to see in the Explorer and Analytics. By default, all cost types are selected. Deselect a cost type by selecting the X next to it, or remove all by selecting Clear All.
- Select a Default Cost View. For details on each cost type, see the Cost Types documentation.
- Select Create Role.
After creating a Limited Access Role, filters typically take effect within one to two hours (up to 24 hours in some cases).
The SSO login attribute option appears only for organizations with an active SSO integration. See Single Sign-On.
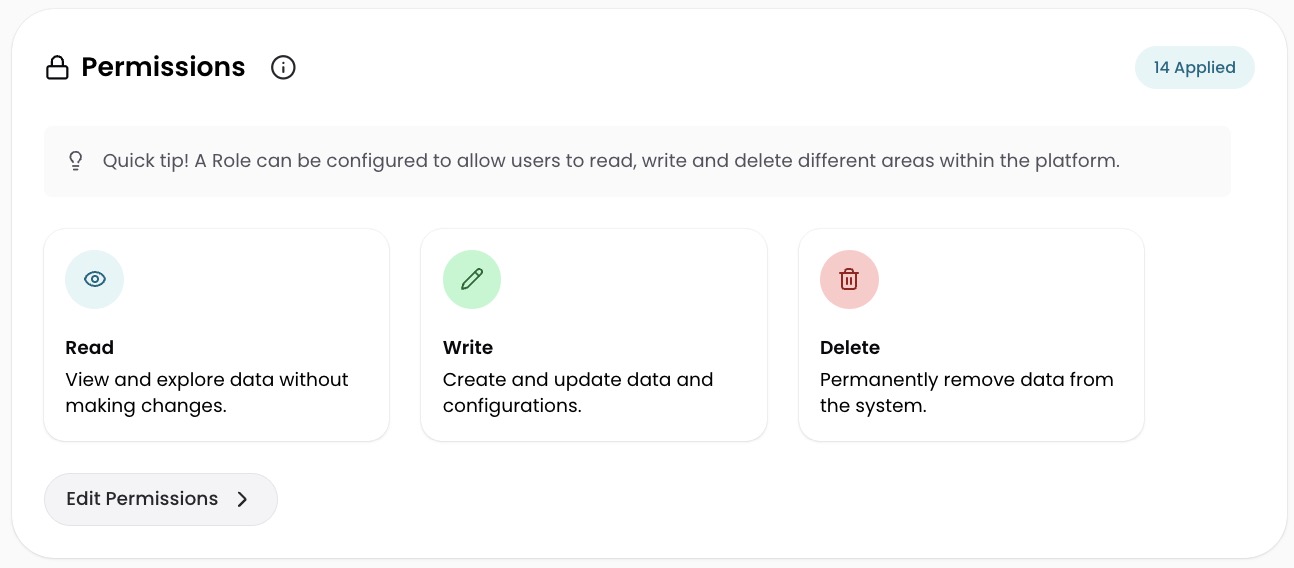
Configure Role with Granular Permissions
You can edit permissions once a Role is created.
- Select Edit Permissions.
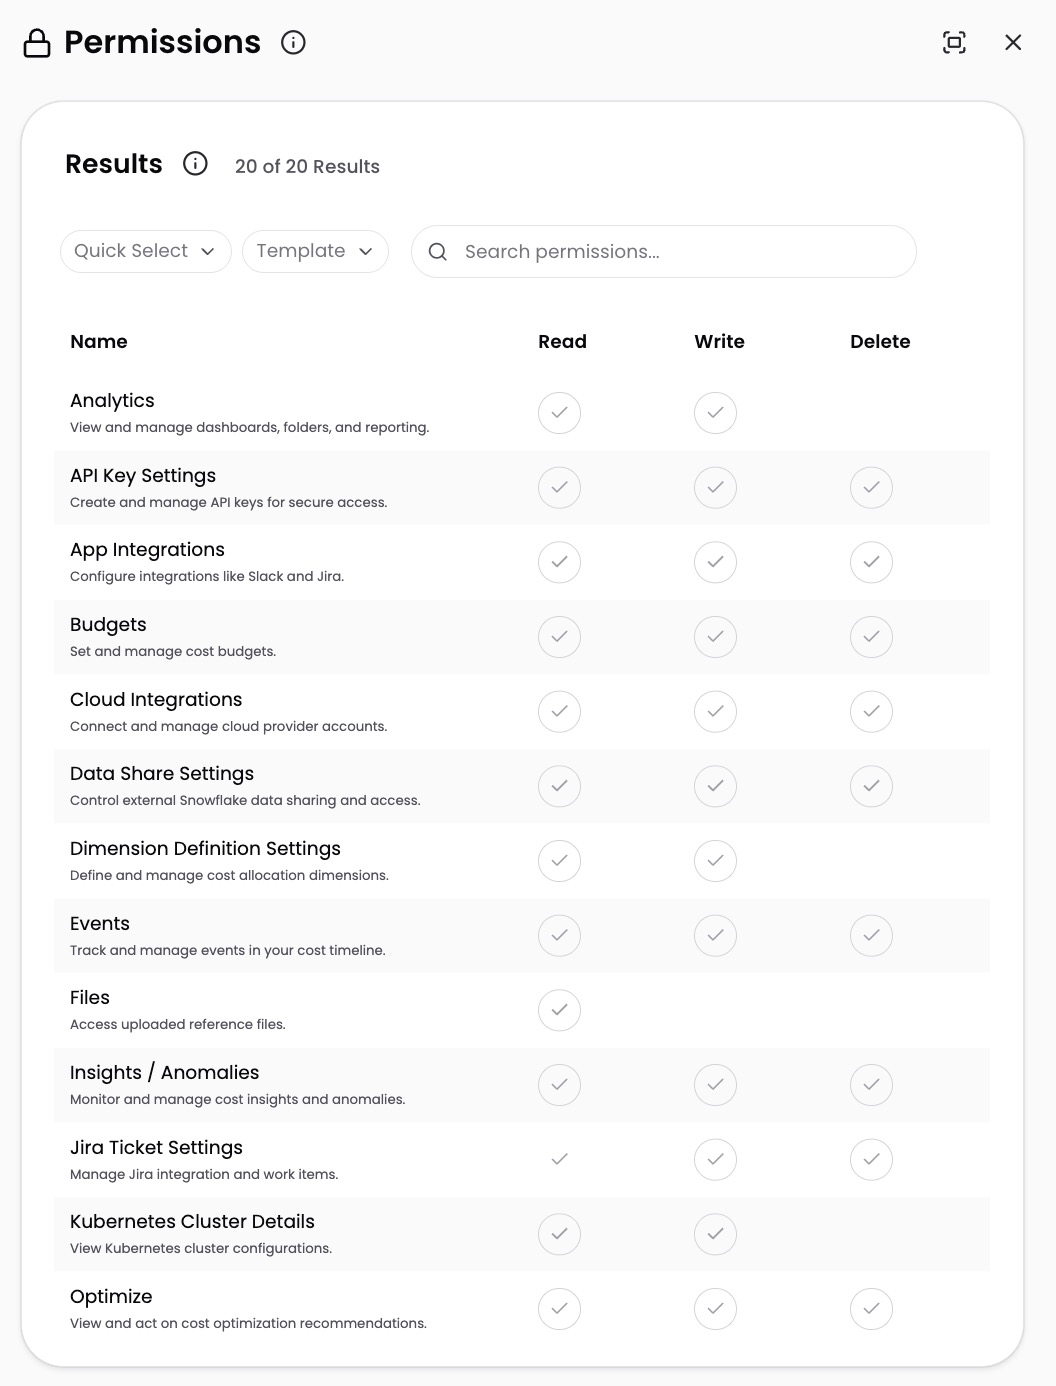
- Review the list of permissions and toggle on each permission needed for this Role. Toggle off any permissions not needed.
- Select Save.
Permission changes take effect immediately.
Add Users to a Role through the Role Settings page
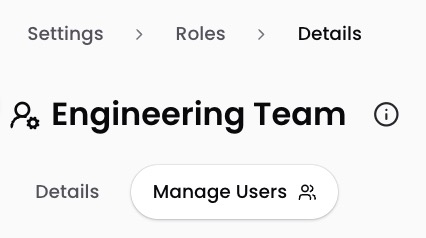
- Navigate to Settings > Roles.
- Select the Role you want to add users to.
- Navigate to the Manage Users tab and select Add/Remove Users.
- Select the users you want to add.
- Select Update Role.
Add Users to a Role through the User Settings page
- Navigate to Settings > Users.
- Select the three-dot Actions menu on the user's row and select Edit User.
- In the drawer that opens, check or uncheck each Role to assign or remove.
- Select Save.
Remove Users from a Role
- Navigate to Settings > Roles.
- Select the Role you want to edit.
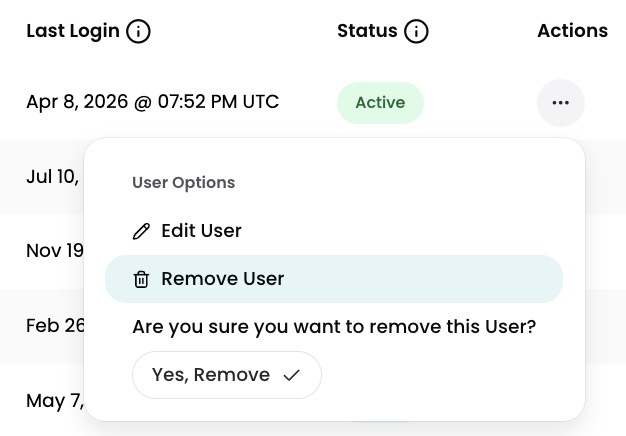
- Select the three-dot Actions menu on the user's row and select Remove User.
- Select Yes, Remove to confirm.
Users must remain in at least one Role. If the user is not in another Role, you will see an error.
Move Users to another Role
- Navigate to Settings > Roles.
- Select the Role you want to edit.
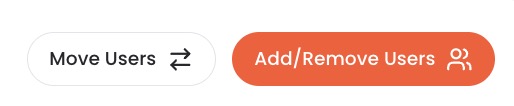
- Navigate to the Manage Users tab and select Move Users.
- Select the Target Role you want to move the user(s) to.
- Select the user(s) you want to move.
- Select Move to Role.
Change a Role's Data Access Level or Cost Type
- Navigate to Settings > Roles.
- Select the Role you want to edit.
- Select the desired level of Access to Cost Data: Limited Access, Full Access, or No Access.
- For a Limited Access Role, add at least one filter and cost type. See Configure Limited Access Role for details.
- For Full Access and Limited Access Roles, select a default cost type.
- Select Save Role.
Delete a Role
All Role members must be moved to another Role before you can delete a Role.
- Navigate to Settings > Roles.
- Select the Role you want to delete.
- Remove all users or move all users to another Role.
- Select Delete. CloudZero confirms the Role has been deleted.
Have questions or feedback? Reach out to your account manager.
Updated 8 days ago