Track Work Items in Jira
CloudZero integrates with Jira so you can create Work Items from Optimize Recommendations and Anomalies and track their status directly in CloudZero.
Connect to Jira
What you need
- Permission to manage app integrations in CloudZero. See Users & Permissions.
- A Jira Cloud account to authenticate the integration. CloudZero files Work Items as this user, so consider creating a dedicated Jira user as a service account. The account needs the User project role and access to the relevant projects. Jira Data Center and Jira Service Management are not supported.
To set up a Jira app integration:
-
Ensure you are logged in to Jira with the appropriate user account.
-
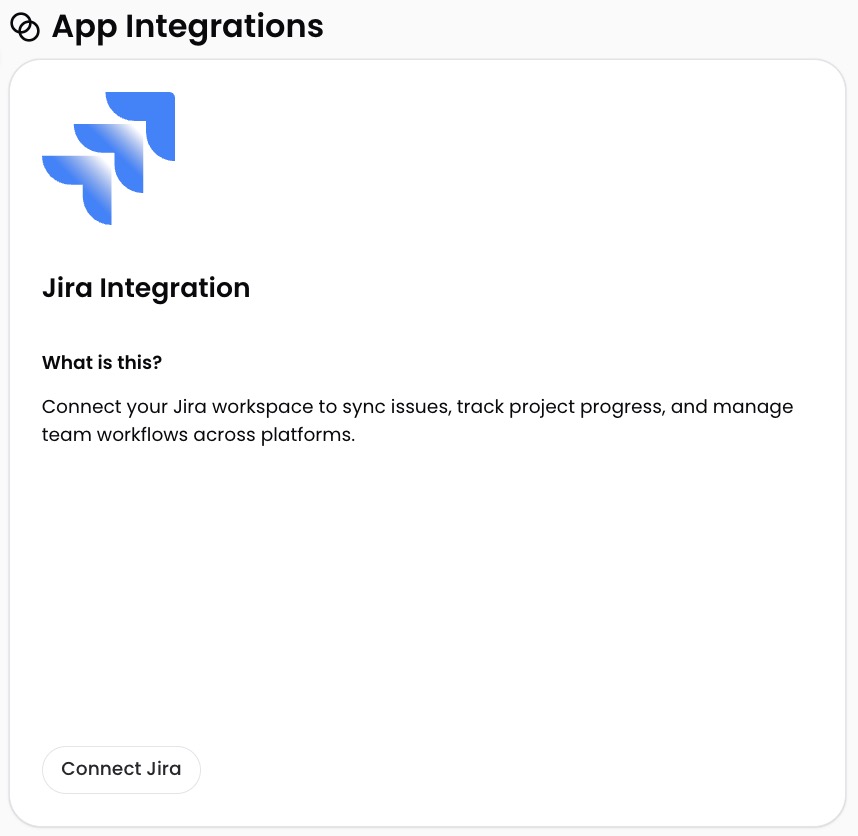
In CloudZero, navigate to Settings > App Integrations and select Connect Jira:
- Atlassian prompts you to grant CloudZero access. Select Accept to authorize the required permissions:

- Verify your Jira instance is correct and select Confirm Instance:
The App Integrations page shows you that CloudZero is connected to Jira:
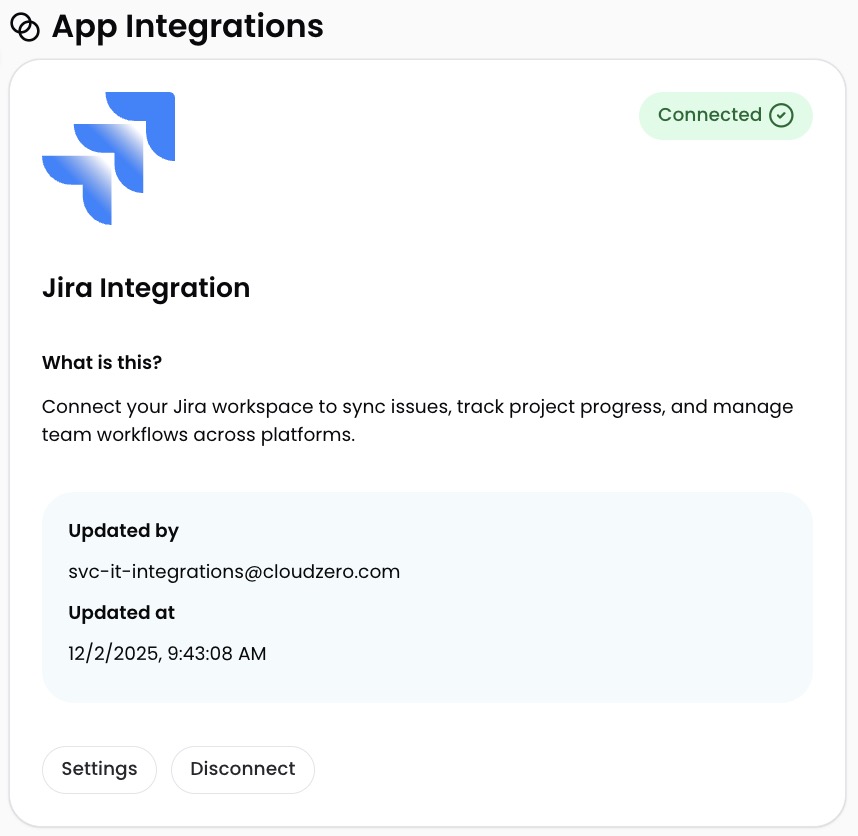
The Updated by field shows which user set up the integration.
You can now create Jira Work Items from CloudZero Recommendations or Anomalies.
Disconnect Jira
To disconnect the Jira app integration, navigate to Settings > App Integrations and select Disconnect Jira.
Existing Work Items remain in Jira, but you can no longer create new Work Items from CloudZero or sync status changes.
Create Jira Work Item
After the Jira integration is enabled, users who have access to Optimize and Anomalies in CloudZero can create or unlink a Jira Work Item without needing to log in to Jira.
Only one Work Item can be linked to a Recommendation or Anomaly at a time. You can link the same Work Item to multiple Recommendations.
Create Jira Work Item from a Recommendation
To create a Jira Work Item from a Recommendation:
-
Navigate to the Optimize page in the CloudZero app.
-
Open the Recommendations tab.
-
Select one or more Recommendations.
-
In the right panel, select Create Jira Work Item.
-
Review any notification that opens about existing connections to a Jira Work Item.
-
When the form opens to create a Work Item, complete the form and select Create. If the form includes a Team Name field, enter the Team UUID from your Jira team page URL.
-
After you create a Work Item, select the Recommendation and look for the link to the Work Item on the bottom of the panel. Select the Work Item link to view it in Jira.
Create Jira Work Item from an Anomaly
- Navigate to the Anomalies page in the CloudZero app.
- Select any one Anomaly.
- At the bottom right of the Anomaly detail panel that opens, review any Jira Work Item already created or select Create.
- When the form opens to create a Work Item, complete the form and select Create. If the form includes a Team Name field, enter the Team UUID from your Jira team page URL.
Unlink Jira Work Item
To unlink a Work Item, navigate to the Recommendation or Anomaly detail and select Unlink in the Integrations section. The Work Item remains in Jira but is no longer displayed in CloudZero. You can then link a new Work Item if needed.
Required Jira access scopes
During setup, you grant CloudZero the following access scopes in Jira. CloudZero does not request the delete scope and cannot delete Work Items.
| Scope | What CloudZero can do |
|---|---|
Manage: jira-webhook | Register and manage webhooks to sync Work Item status |
View: jira-user, jira-work | Read user profiles, project data, and Work Item details |
Update: jira-work | Create and edit Work Items, post comments, and create worklogs |
Have questions or feedback? Reach out to your account manager.
Updated about 1 month ago