Getting Started with the Toolkit
If you have not yet installed VS Code, navigate to the VS Code website and install the latest version (v1.57.1 or higher).
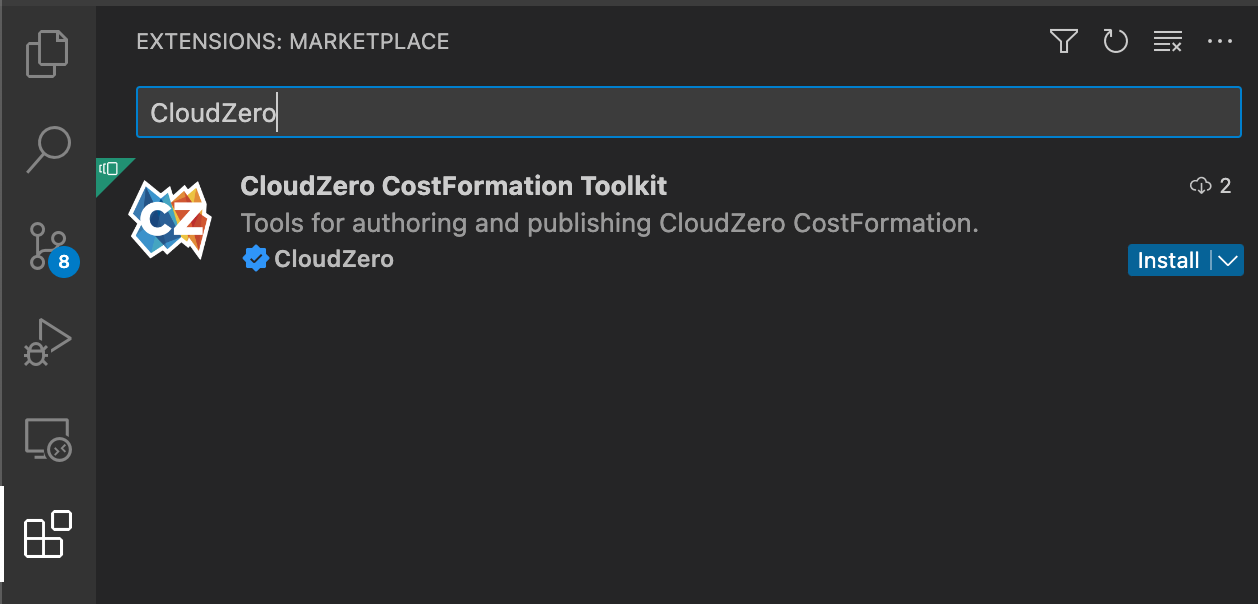
Install the CostFormation Toolkit Extension
After VS Code is installed, you can install the CostFormation Toolkit extension. Select the Extensions icon in VS Code and search the extension marketplace for CloudZero. Then, select Install.
Connect to the CloudZero Platform
For many of the features to work, you must be authenticated with the CloudZero platform and have the necessary permissions for your organization. To log in, open the VS Code command palette (⇧⌘P/Ctrl-Shift-P) and select the command CloudZero: Authenticate With the CloudZero Platform.

Your default browser opens the CloudZero login page, where you can enter your credentials.

After your credentials have been authenticated, you are redirected to a page displaying a success message confirming you have logged in and prompting you to close the tab and return to VS Code.

You can close the page and return to VS Code, where you will see a notification confirming that you are logged in to CloudZero:

Create a new Definitions file
If your organization does not already have any custom Dimensions, you can begin to define new custom definitions by opening a new file and saving it. When you are prompted for the filename, you can name the file anything you like, but the extension of the file must be .cz.yaml.
For example: our-definitions.cz.yaml
Download the latest definitions
If your organization already has custom definitions, you can download them and save them locally. Open the VS Code command palette (⇧⌘P/Ctrl-Shift-P) and select the command CloudZero: Download Latest CostFormation.

The VS Code Save dialog opens. Enter a name for your file and click Save.
The file extension must be
.cz.yaml. If you do not specify an extension,.cz.yamlis automatically appended to the filename.
Create your first Custom Dimensions
If you have not defined a CostFormation template previously and want to see an example that can be modified to your needs, examine the built-in examples: Static Grouping, Dynamic Grouping, Even Allocation, and Proportional Allocation. The following examples are shown:
- Static Grouping: Shows how to create rules that use statically named elements.
- Dynamic Grouping: Shows how to create a rule that will generate dynamically named elements using the source data.
These examples are part of the autocomplete feature. To add one of the examples to your definitions file, start typing the word example and you will see the examples, as illustrated for two of the examples:

Select one of the examples to enter it into your file. Your cursor is placed in the first customizable area, which is the dimension Id. You can replace this with your own ID. Press the Tab key to advance to other fields that you can customize.
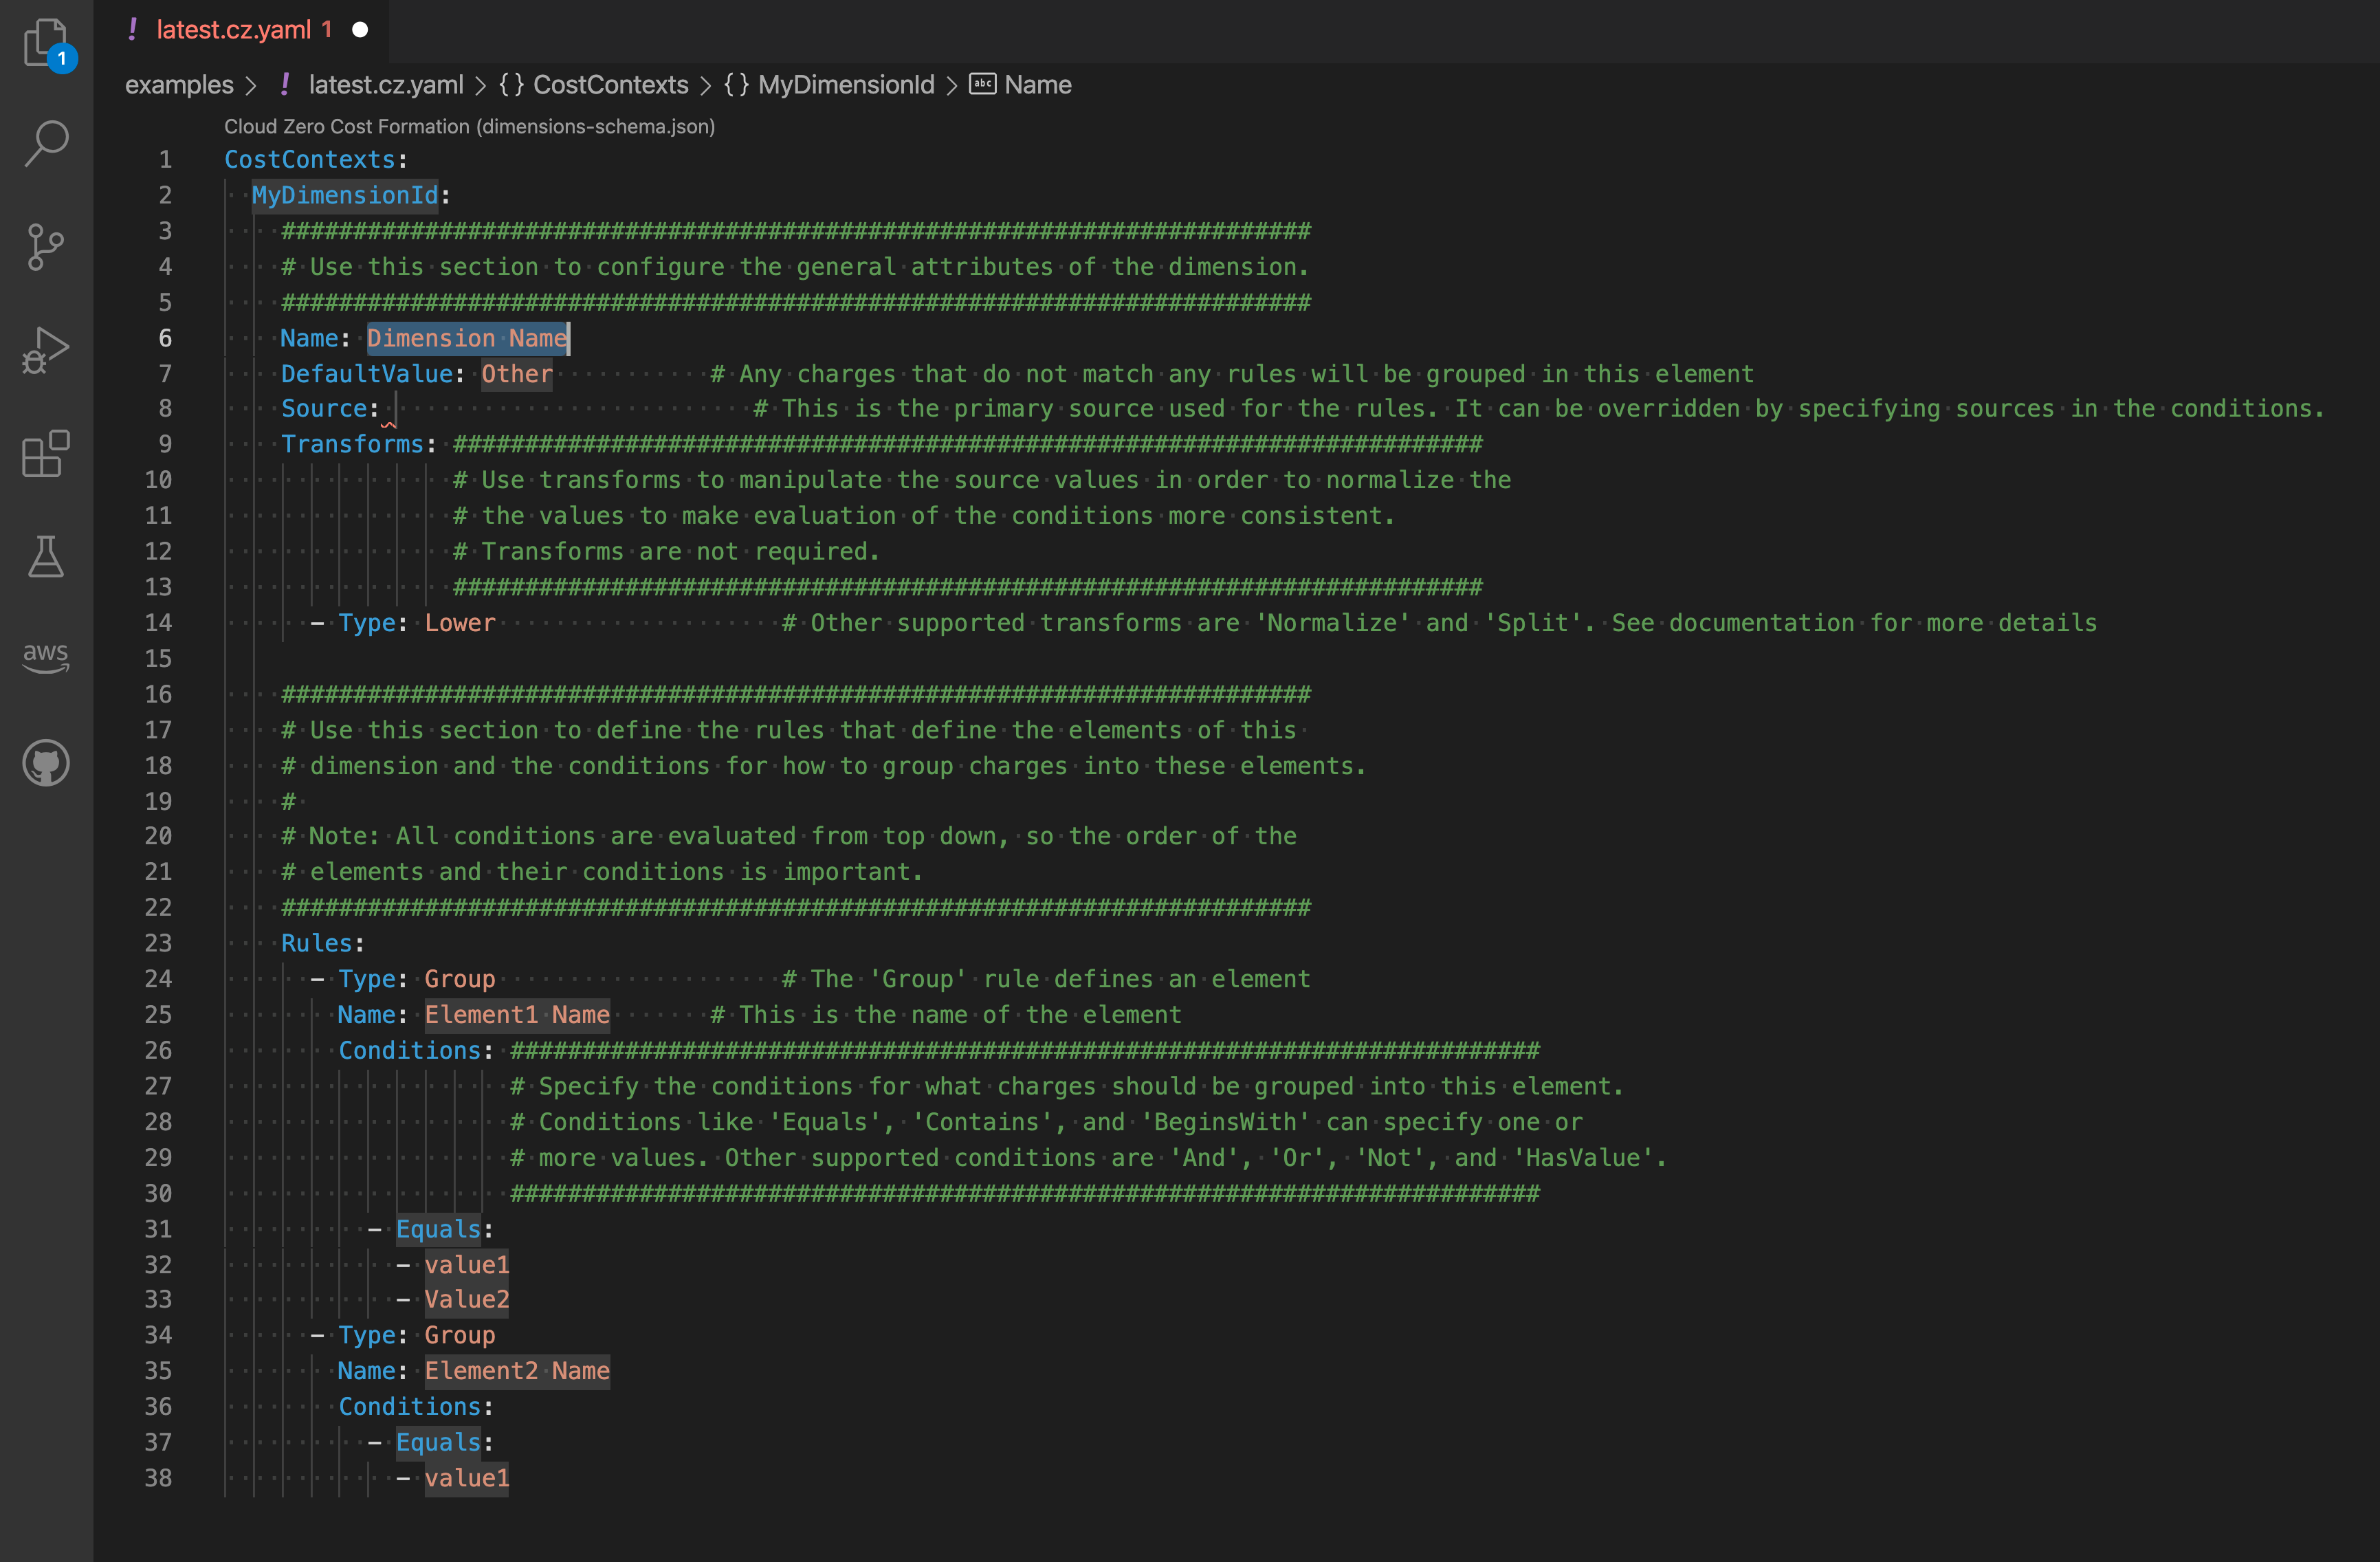
Although the two methods of grouping elements are shown as separate examples, these types of rules can be combined to create a dimension with both statically and dynamically named elements.
These example templates are intended to be used in an empty file. Thus they contain the root element,
Dimensions, of a definitions file. If you add both examples, you will need to delete one of those lines.
Troubleshooting the CostFormation Toolkit Extension
If your organization has recently enabled seamless SSO login and you attempt to authenticate the CloudZero CostFormation Toolkit extension, your browser may display the following error message:
Oops, something went wrong
There could be a misconfiguration in the system or a service outage. We track these errors automatically, but if the problem persists feel free to contact us.
Please try again.
To re-authenticate with CloudZero after your organization has enabled seamless SSO login, complete the following steps:
-
Update to the latest version of the extension (
v1.0.9or higher). -
Refresh VS Code by navigating to View > Command Palette... and selecting Developer: Reload Window.
-
Navigate to Settings > Extensions > CloudZero CostFormation.
-
In the General: Auth URL drop-down menu, select
https://auth.cloudzero.com.
-
Navigate to View > Command Palette... and select Authenticate With the CloudZero Platform.
-
Follow the remaining steps in authentication.
Updated 3 days ago